Hi everyone! ♥️🥰
Page 3 is completely finished, and I am now working on Page 4!
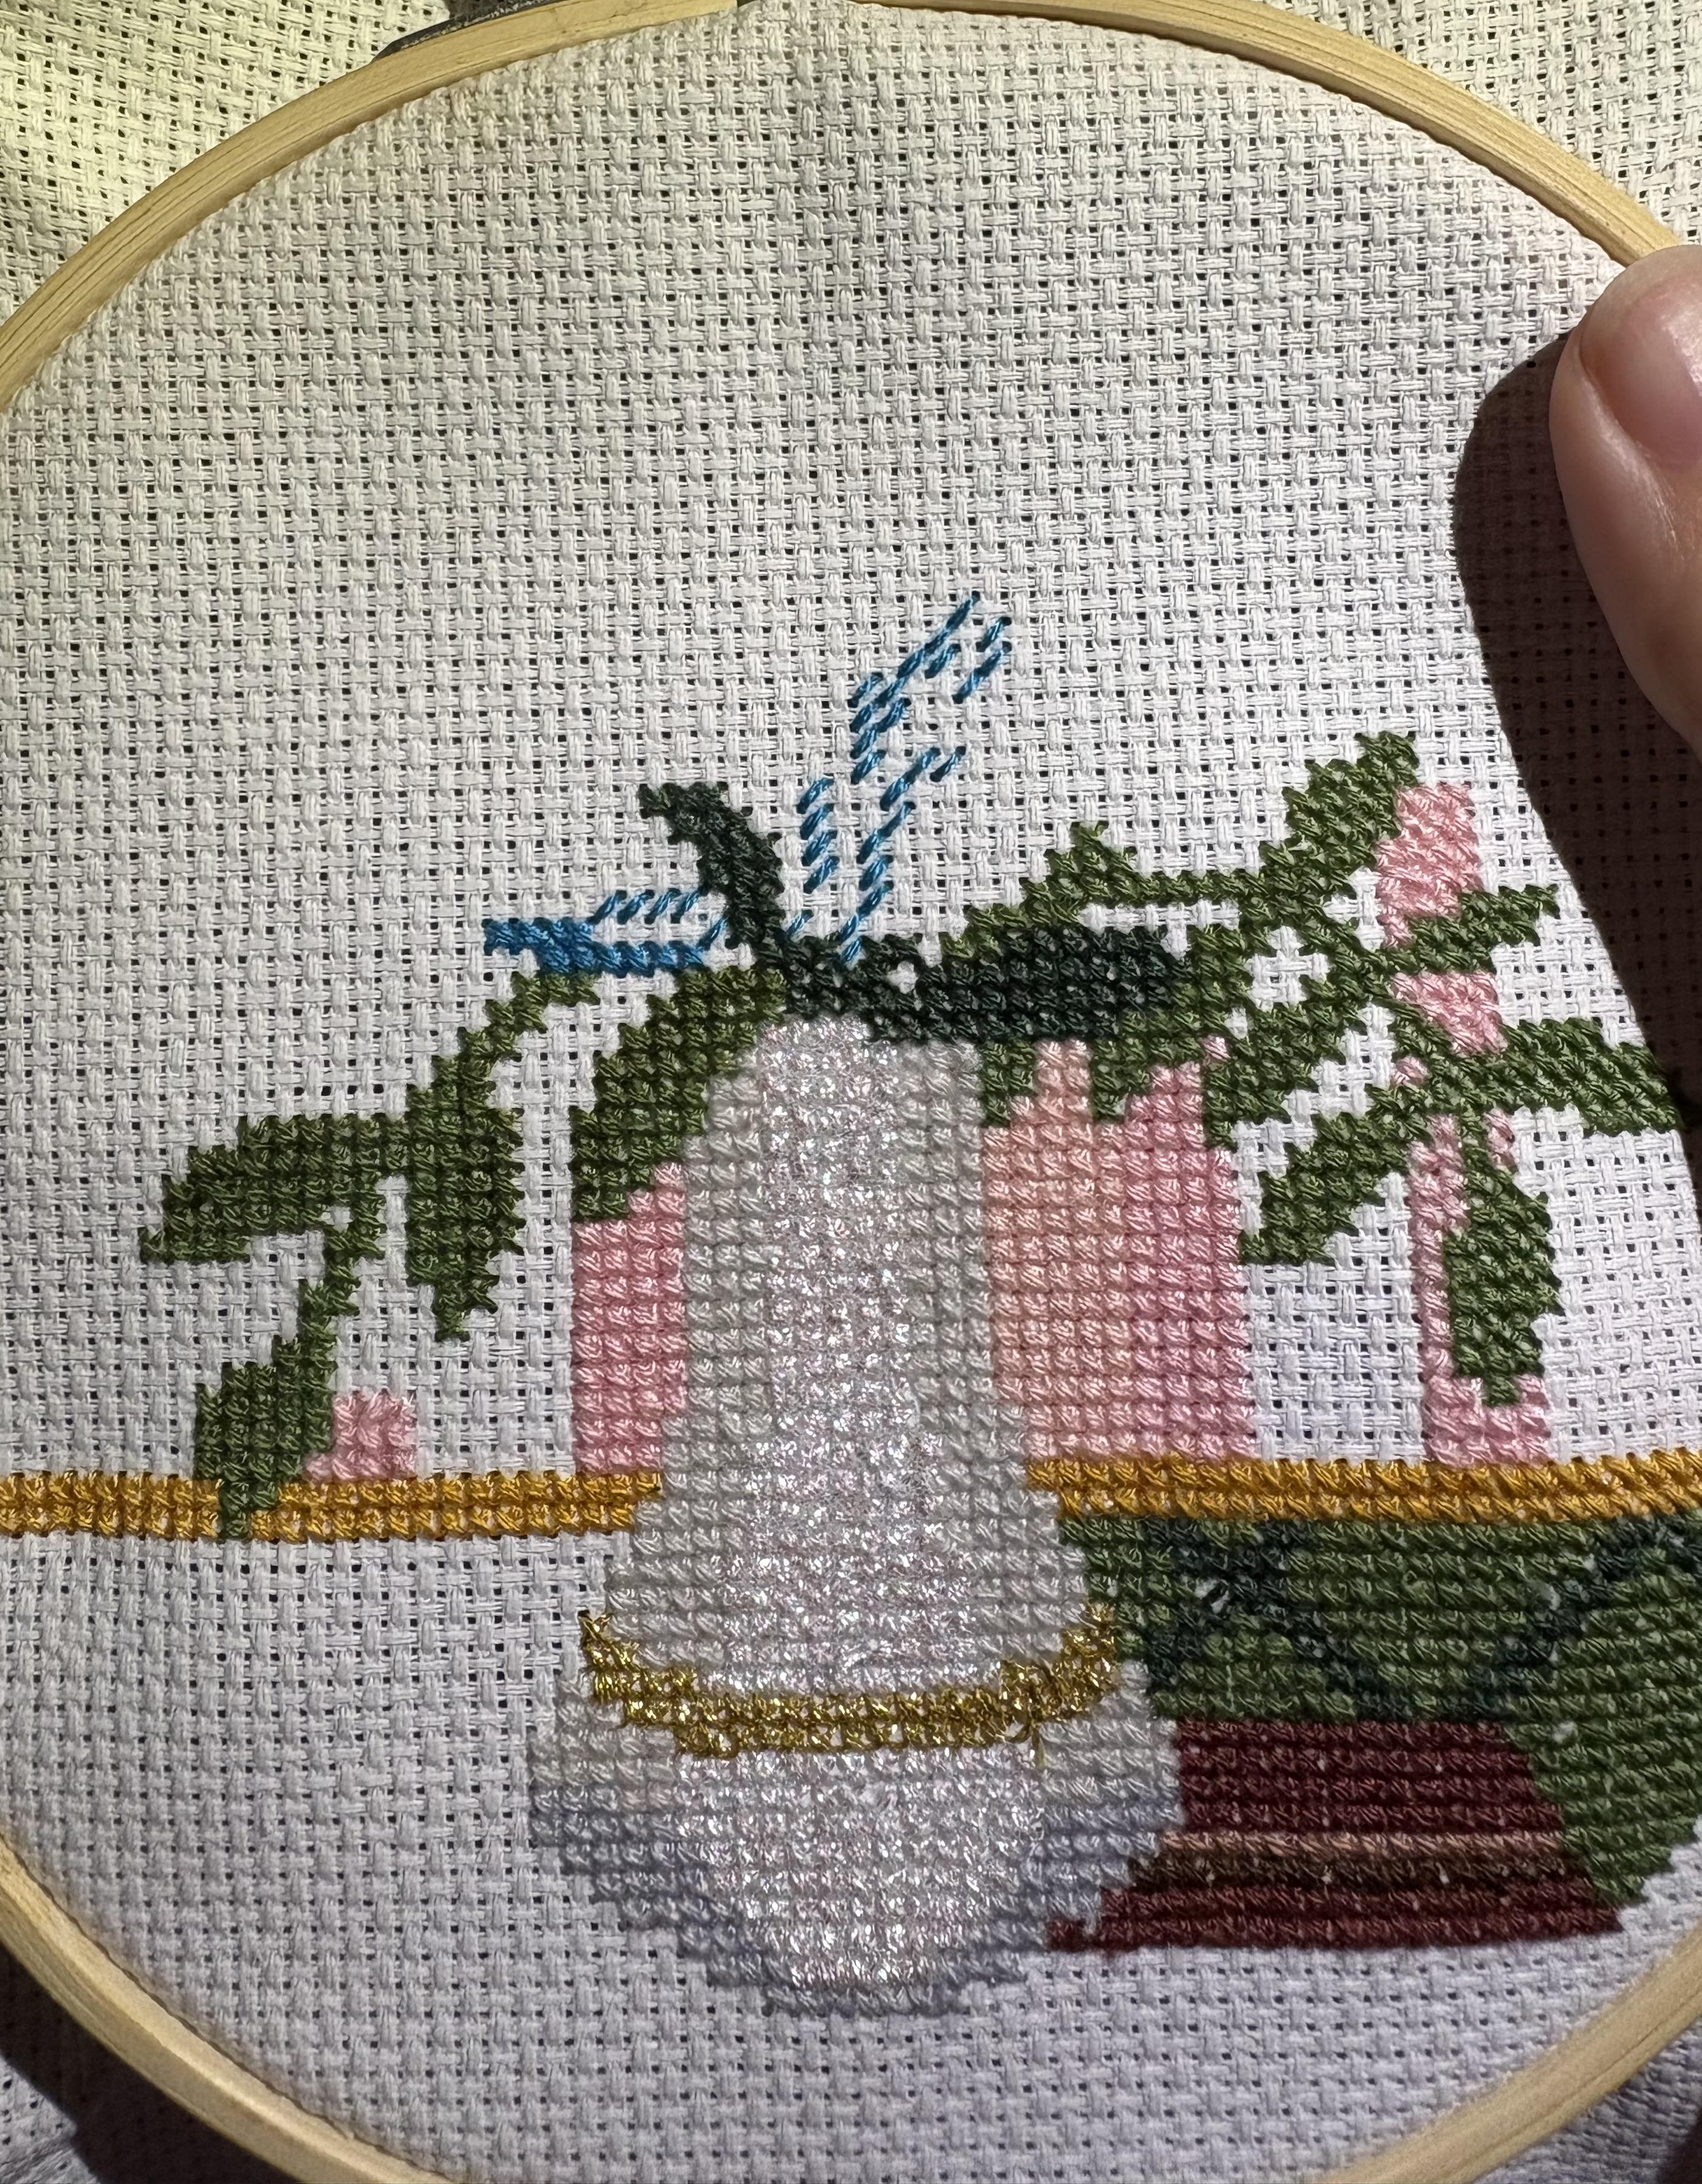
I always thought my usual stitching range or "comfort zone" was around 600 stitches at a time. But this time, I got completely hijacked by this gorgeous pink rose floss! My "color-chasing" brain tracked it across multiple boundaries all the way into Pages 6 and 7, clearing over 1,800 stitches. I was so surprised by how far I traveled! 🗺️🤪💥
Many of you often ask me how I keep the back of my stitching looking so beautiful, neat, and clean, especially when wandering off the grid like this. So today, I'd love to share my secret needle movement order!
To put it simply, I don't stick to chart boundaries at all—I just follow the threads and constantly chase the colors into all the surrounding pages! Naturally blending the pages by following the colors prevents harsh grid lines from showing on the front.
To ensure the fabric stays perfectly flat and warp-free during these long journeys, I always follow this precise needle order to manage the tension:
・ ・ ・ ⑦ ・ ・ ・
・ ⑥ ⑤ ・ ・ ② ・
⑥ ⑥ ・ ・ ③ ② ・
・ ・ ・ ④ ④ ② ①
For the messy, confetti-heavy areas, I lock everything down securely using the end loop method. For long vertical rows, I skip the loop, let the threads run smoothly, and hold them down firmly from above.
By stitching in this specific sequence, the back stays incredibly tidy! (As you can see in my last photo, after stitching up to No. 7, the thread comes down beautifully and neatly on the right side.)
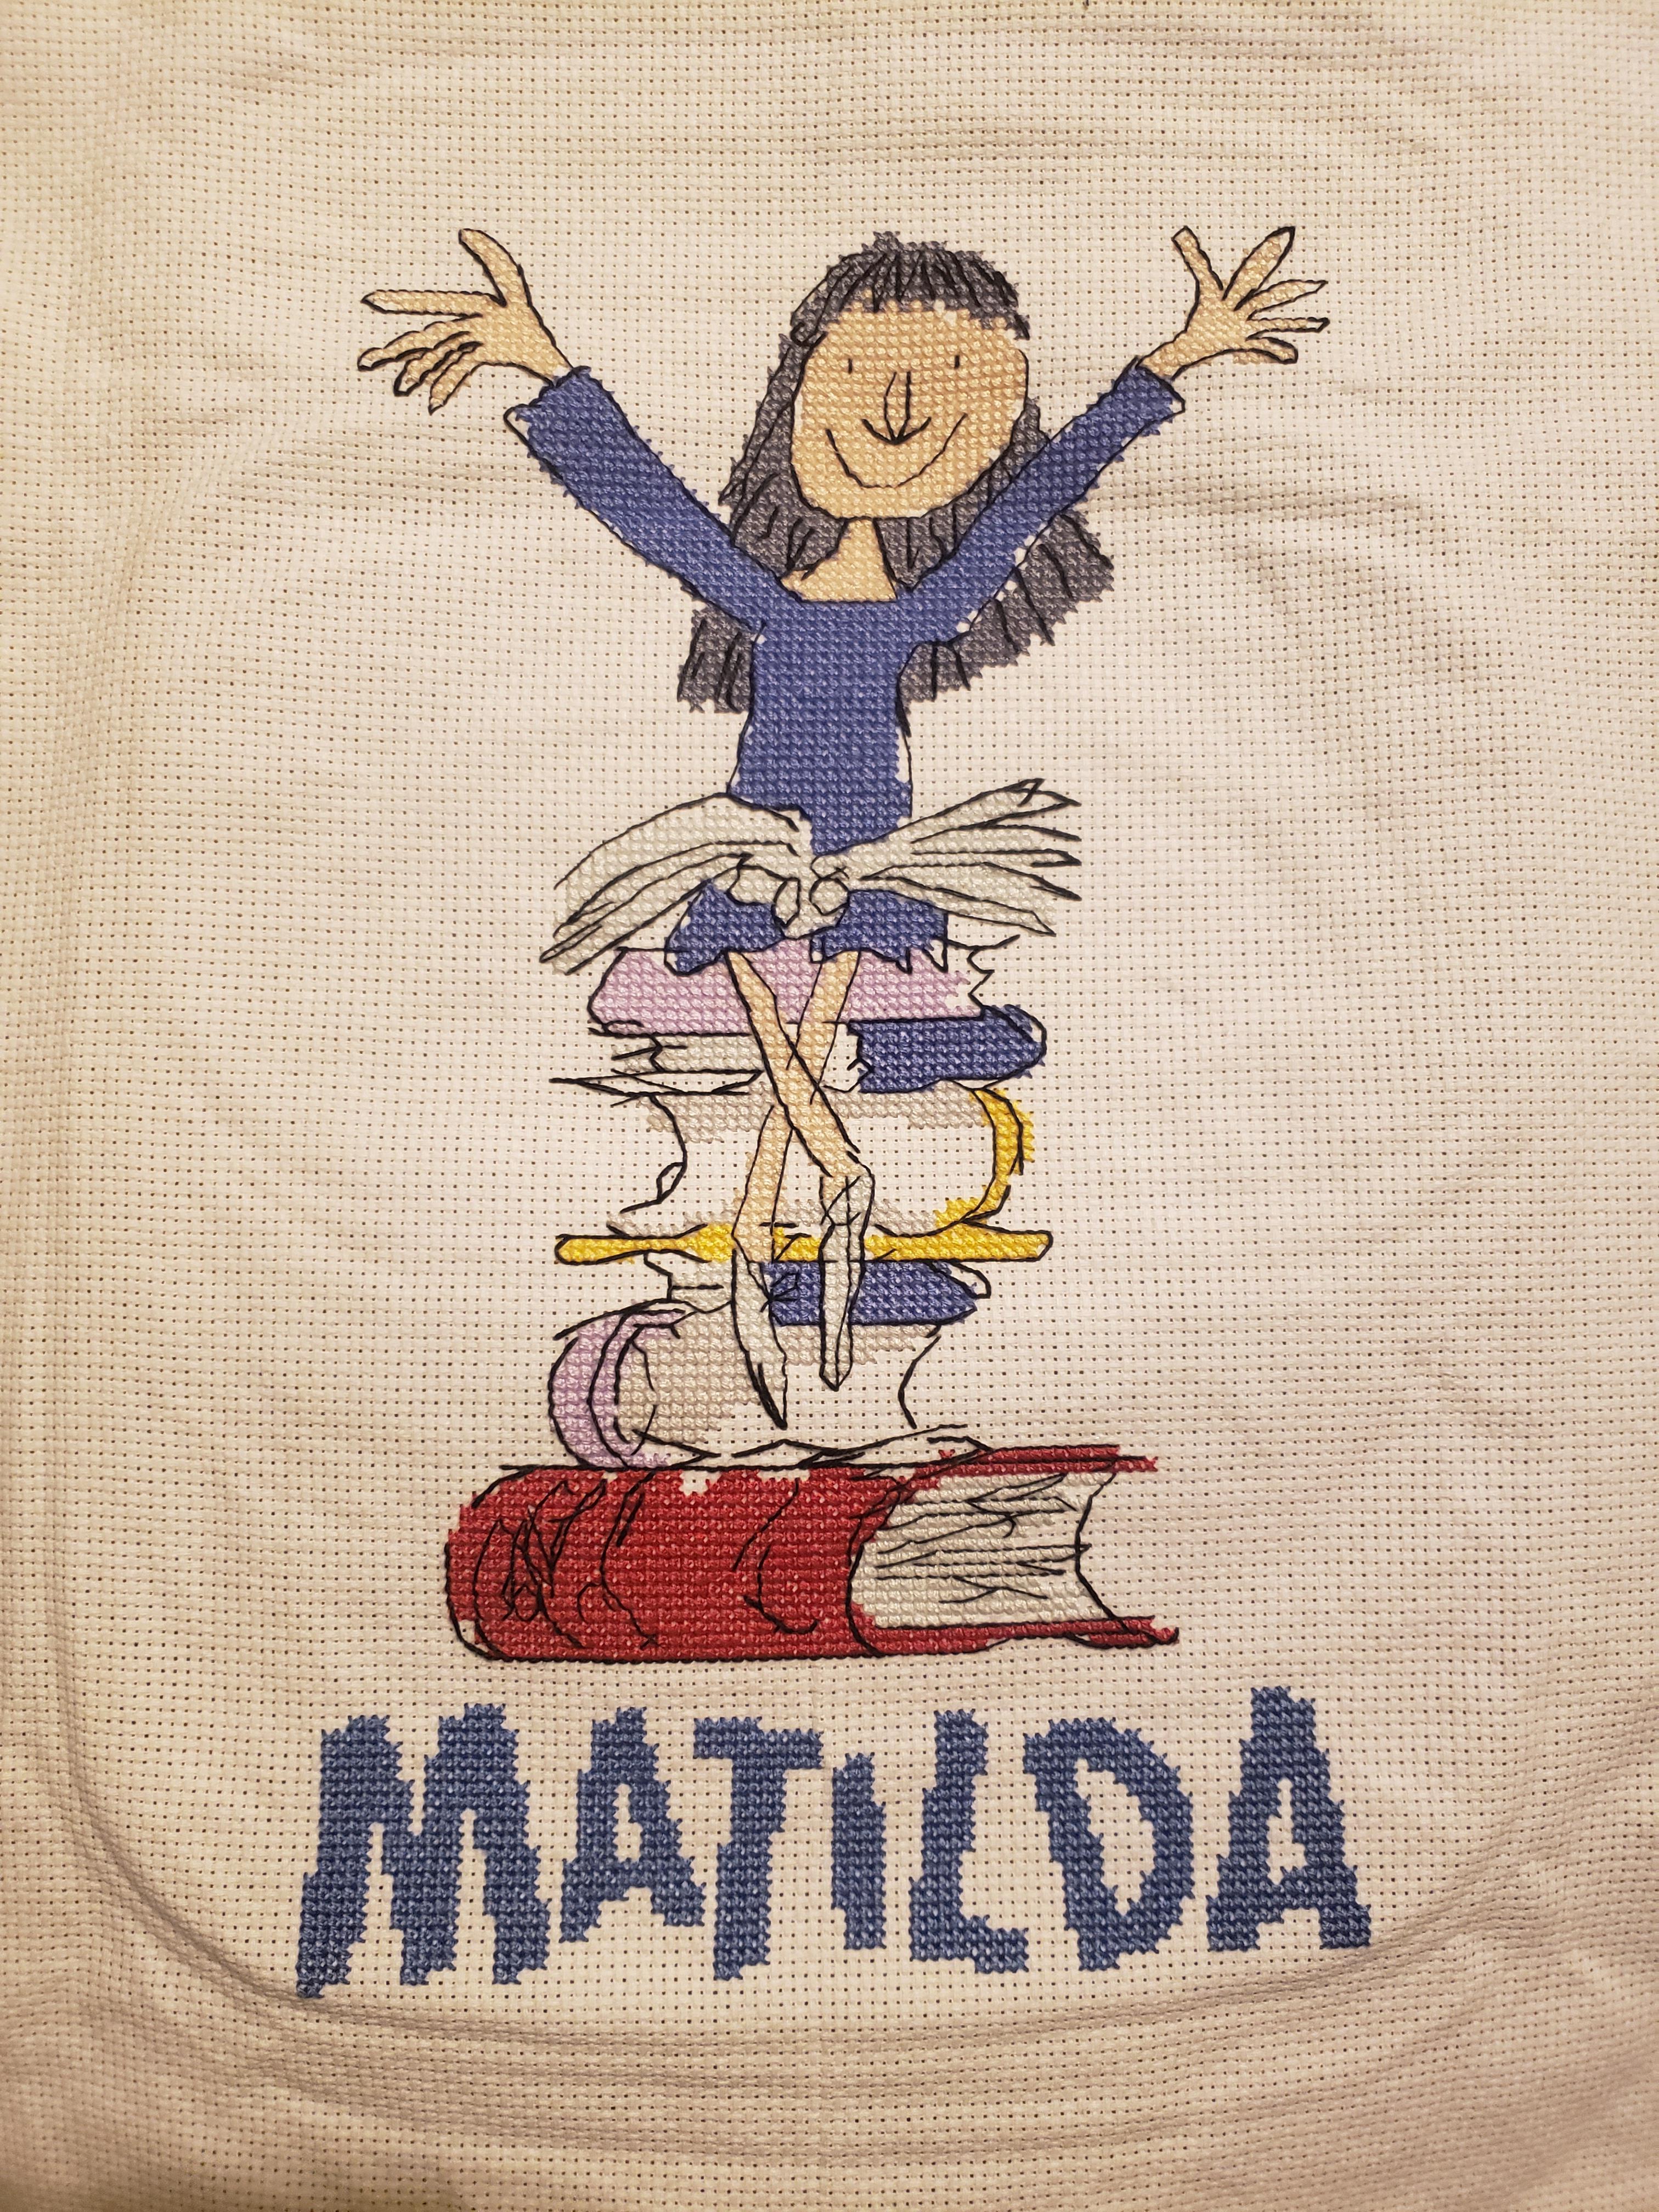
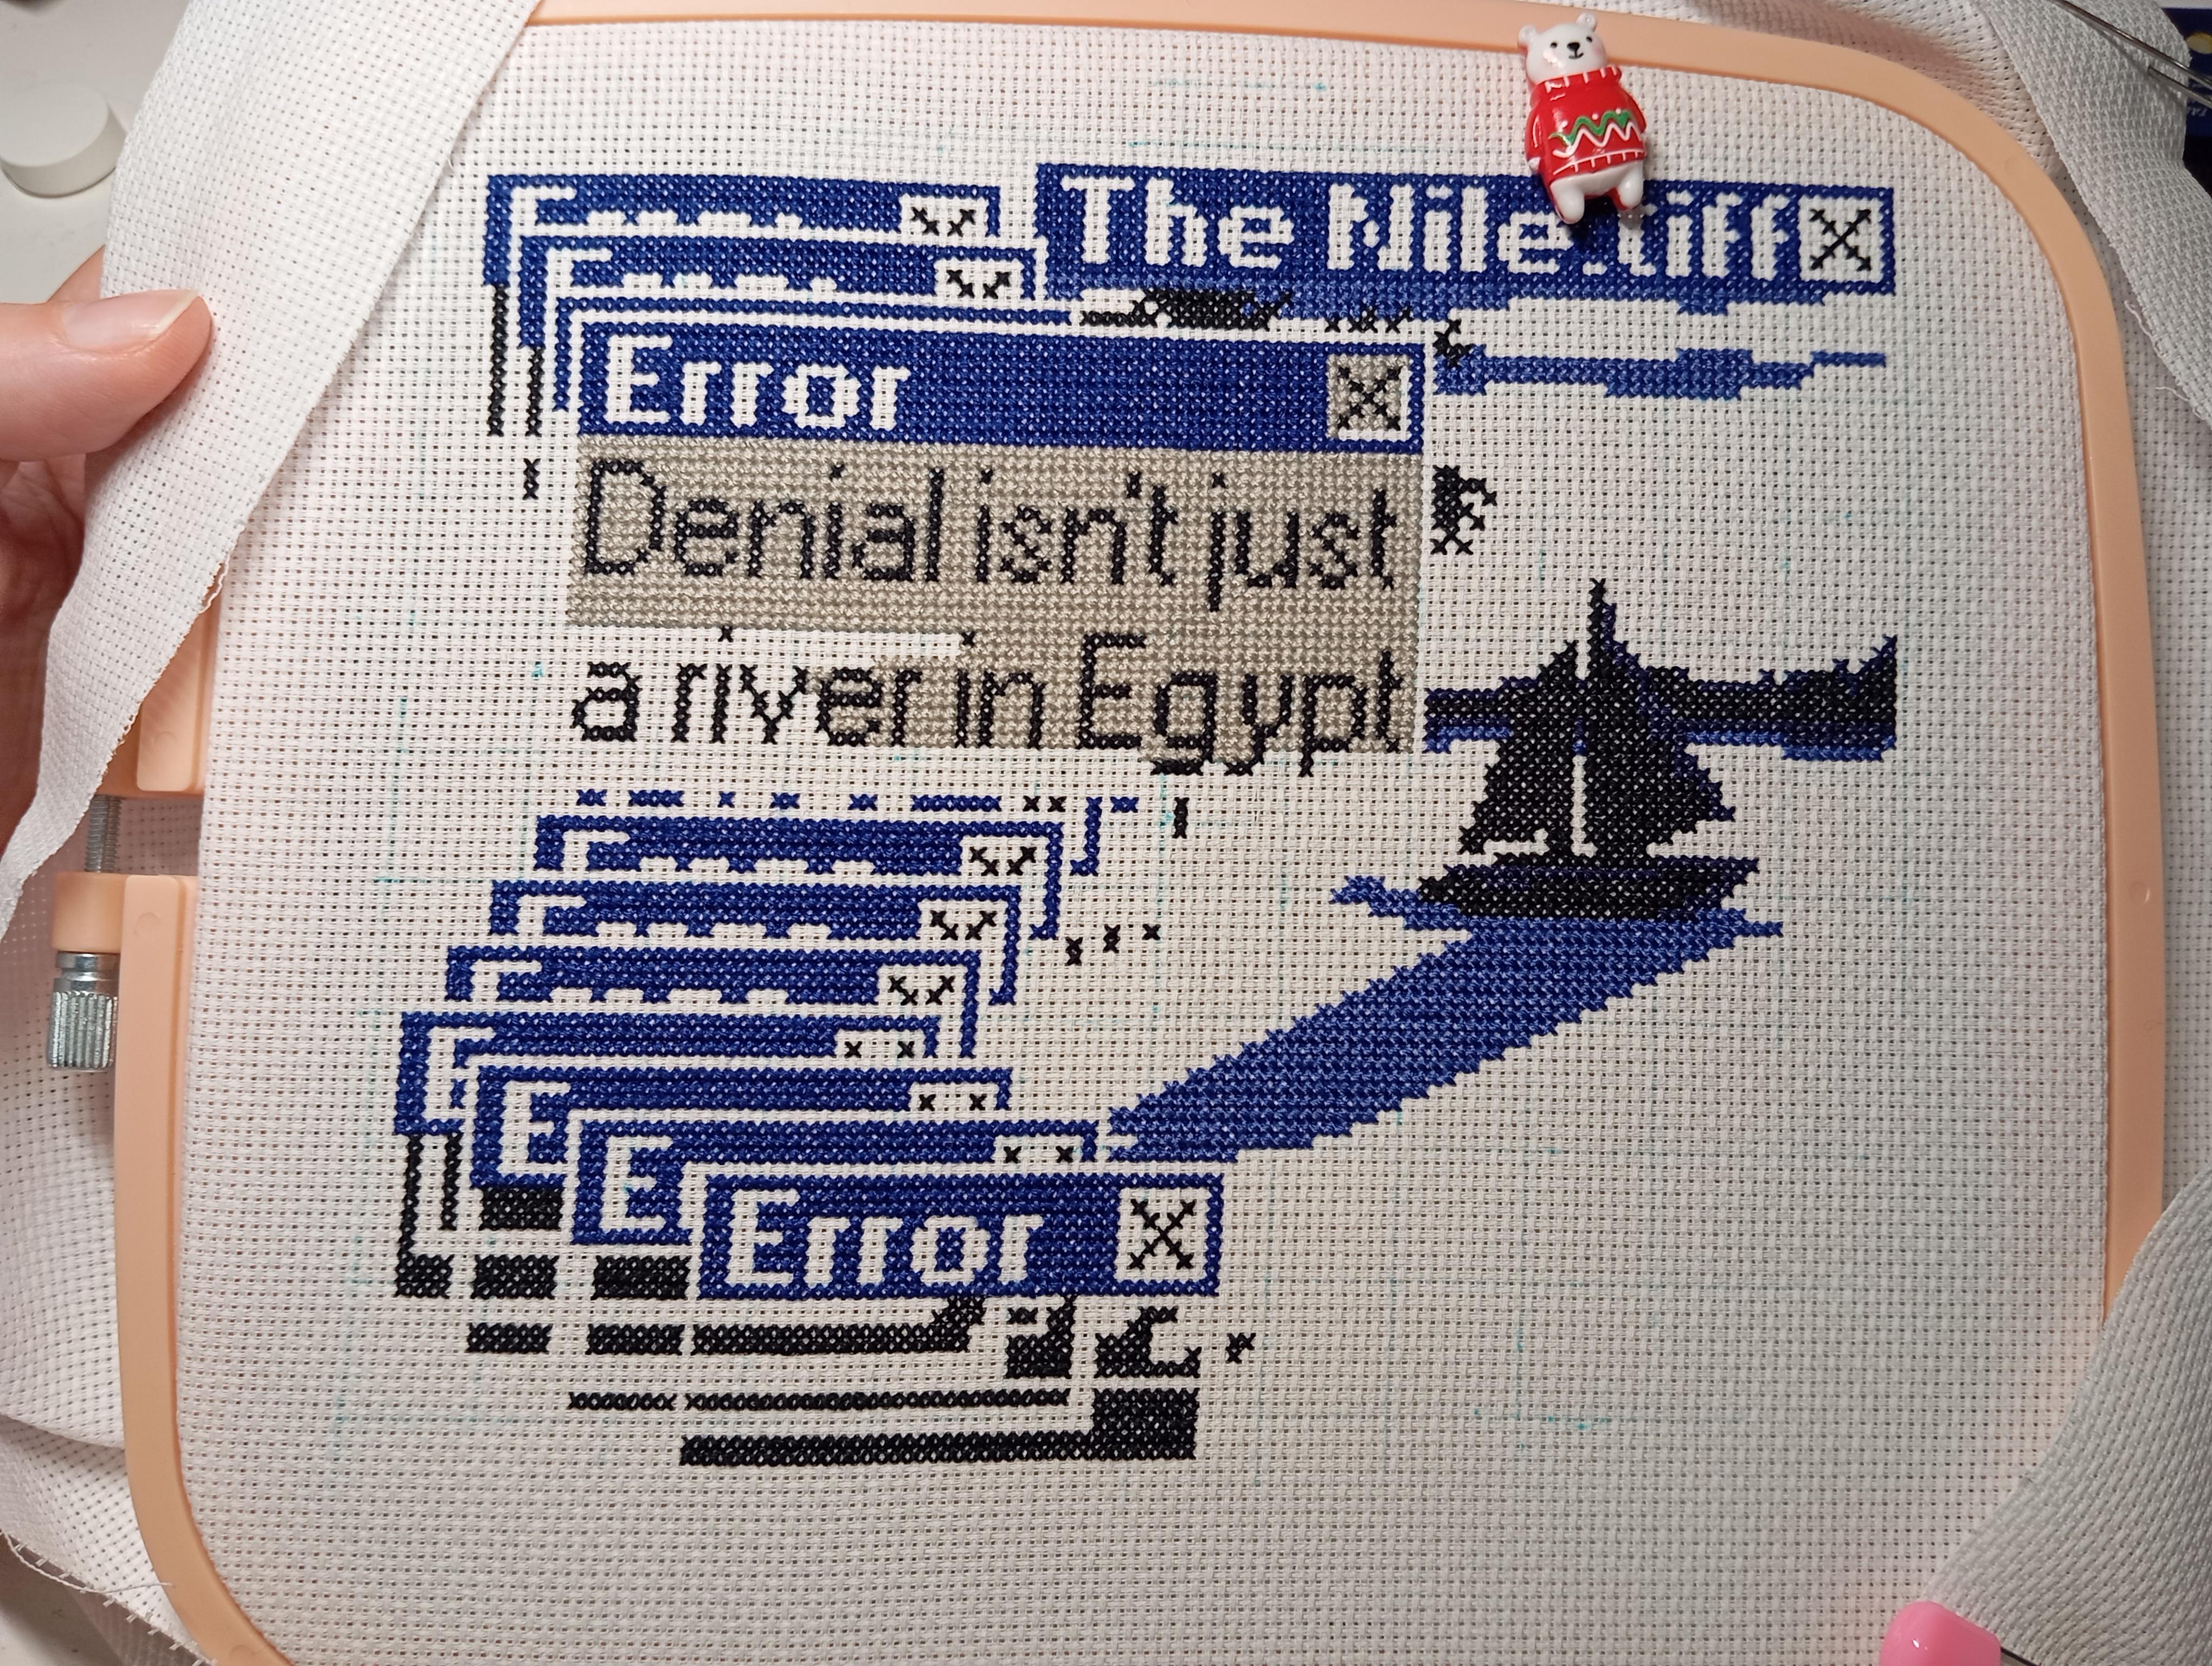
I've included pictures of both my front progress and how the actual back looks. I hope this little guide helps!
P.S. Please note that this is just one of my many advanced techniques and applications. I adapt my methods depending on the colors and the pattern! 😉✨
Happy stitching! 🧵🎨✨